HTML Crash Course
HTML 101
Part 2. Coding Practice
OK, now it's time to dive in and type some real HTML code. We already saw two examples, so let's type the code we saw there and create our own HTML projects.
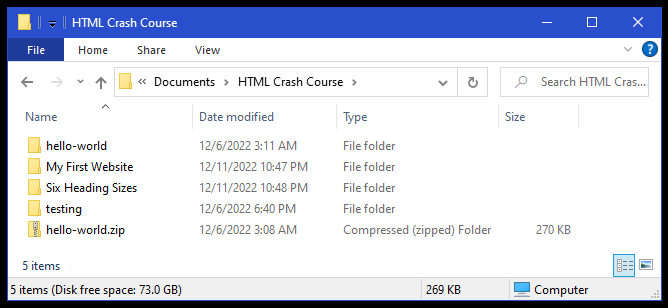
Before we even open VS Code, let's use the file manager on our computer to create two empty folders. By now, you should be very familiar with how to use the file manager specific to your operating system. On Windows, it's called File Explorer, and on a Mac, it's called Finder, and since you already know that, we will not mention it again. We will create these two folders inside the Documents folder called HTML Crash Course that we created to hold all of our projects for this course. The first empty project folder we will create will be called My First Website and the second empty project folder will be called Six Heading Sizes. If you've been following along and did all the tasks in Lesson 0, then your folder will look something like the one below.
My First Website
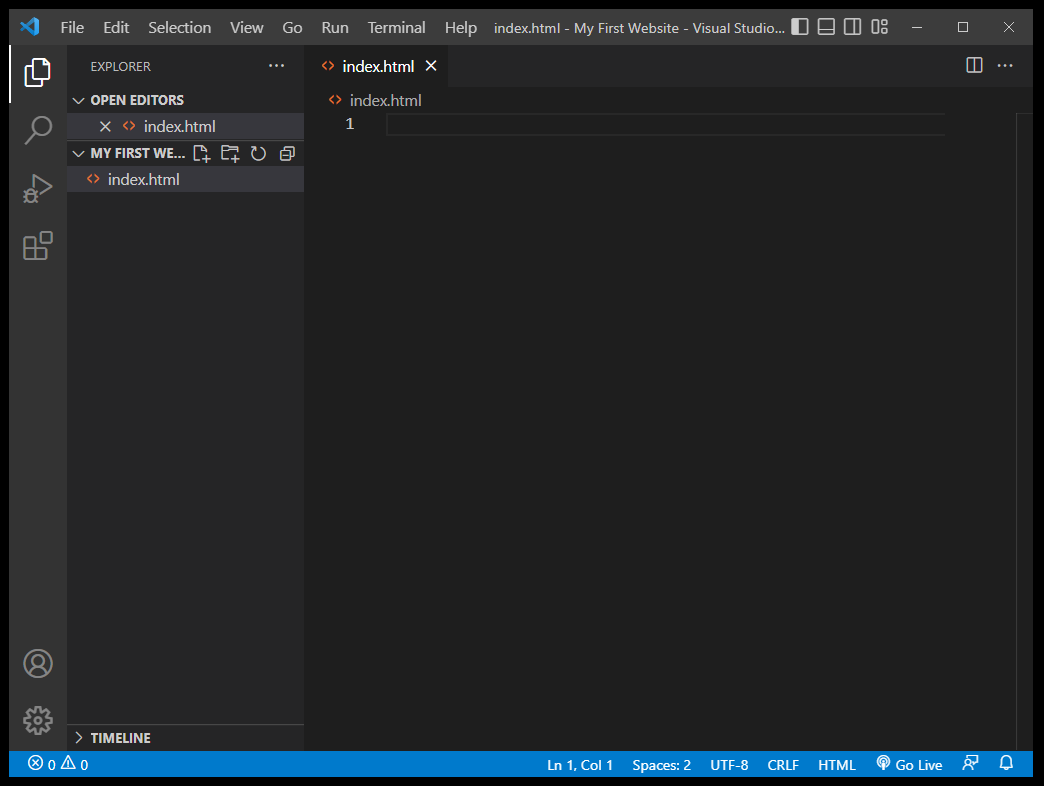
Now it's time to launch VS Code and use it to open the empty folder we created above called My First Website. To do this, we first click on File and then on Open Folder... and then we need to select the folder called My First Website. Now we need to create a blank text file in that folder. To do this, we click on File and then on New Text File. But we don't really want a blank text file. Instead, we want a blank HTML file, so next we need to rename that file to index.html. And that is done by clicking on File and then on Save As... and then, we type index.html for the File Name in the dialog box that pops up, and then we will click the Save button. (If you are having trouble with any of these steps, then you might want to review what we did with Emmet in Lesson 0.) You should now have an blank index.html file. And you are ready to start typing code on line 1 of that file.
And here is the code that you will need to type.
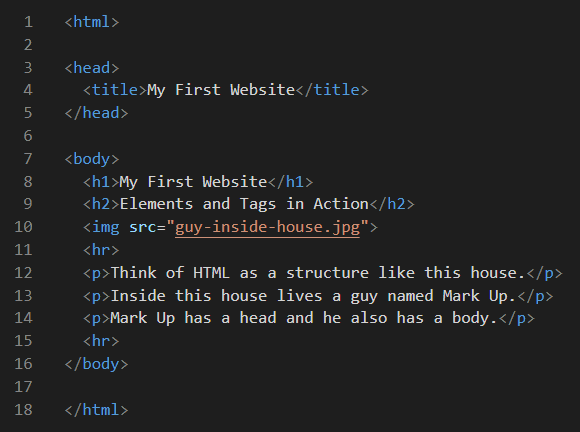

Remember what we learned in the previous lesson. What is the difference between an opening tag and a closing tag? Where do we put the two html tags? Where does the head begin and end? Where does the body begin and end? Which tags and elements go inside the head? And which tags and elements belong inside the body? Think about these questions as you type this code.
But we also need to download and save this image on the left to our My First Website folder. That is actually a very easy task to perform. To do that, simply right-click on the image to the left of this text, and then click on Save image as... from the pulldown menu that appears. Make sure that you are saving it to the correct folder location, which is the My First Website folder, which is inside the folder called HTML Crash Course, which is inside the Documents folder.
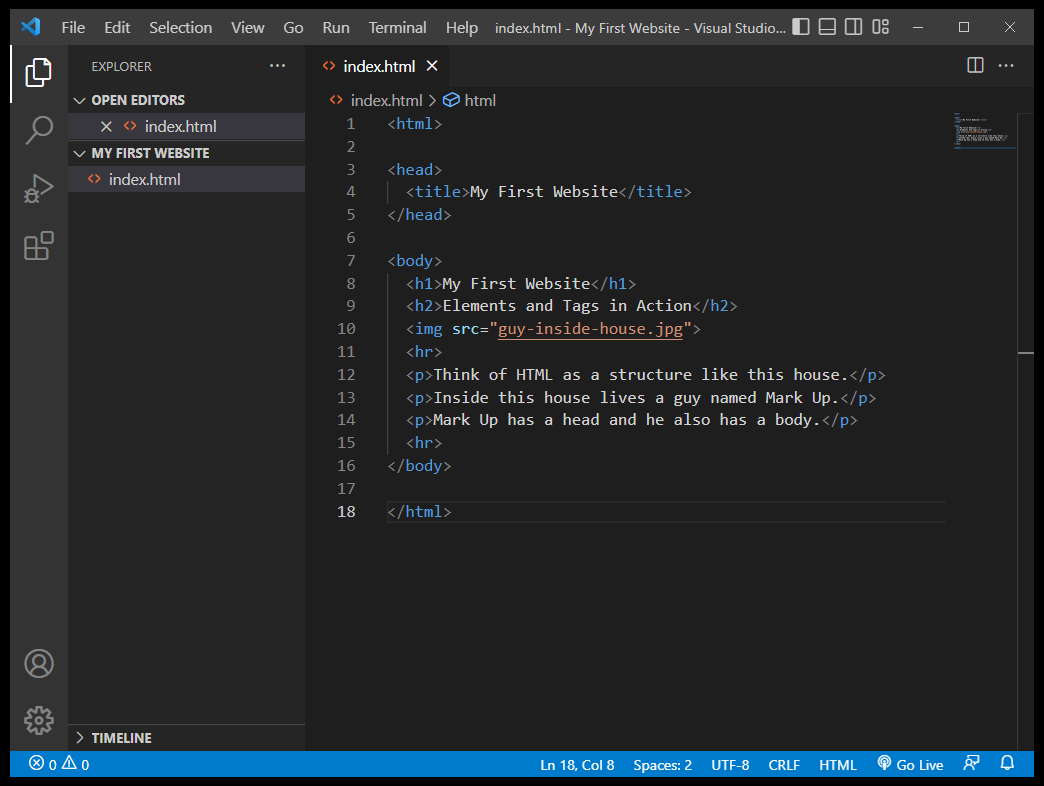
When all the code is correctly typed, it should look like the illustration below. Remember that your code is configured to save automatically, and that you can always use the Beautify extension to help format it automatically as well. Also, you can click on the image below to zoom in and get a better look at this VS Code screen.
If the code looks good, then go ahead and click on Go Live at the bottom of the screen, and then this web page should open in your browser and look something like the image below on the left side. If it doesn't look like that image, then please reinspect your code for errors, and correct the errors until it does. Troubleshooting is just as important as coding! If it does look identical to the image below on the left side, then Congratulations are in order! Your code autosaves in VS Code, so just click on File and then on Close Folder and this project will be saved. And now you are ready for your next project.
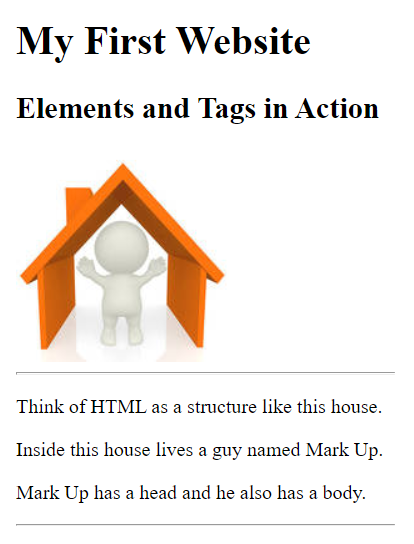
This first website project is meant to be informative and instructional, as well as providing you with some good code-typing practice. Please read the text on the web page you just created. It should make perfect sense to you. If you can always remember its key points, then you are well on your way to creating solid, bulletproof HTML documents.
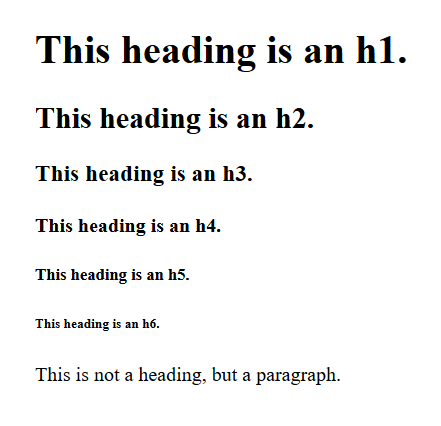
If you were successful in creating your first website project, then it is time to move on to your second website project where we will be creating a web page that is designed to illustrate the default font-sizes for all six headings (and the paragraph) using the default font-family for all web browsers on all operating systems, which is a serif font-family. A serif font is a font that has those little curlicues on each of the characters. A serif font is always the web browser's default font-family, but sans-serif fonts (like the ones we are using in this crash course) look a lot cleaner and are easier to read on most web pages. However, serif fonts look great if you are trying to create a website that needs to look like the text in a published book, in a magazine, or like the print in a newspaper.
Six Heading Sizes
Just like we did with our first project, and with VS Code already open, we need to open the empty folder we created before called Six Heading Sizes. To do this, we first click on File and then on Open Folder... and then we need to select the folder called Six Heading Sizes. Now we need to create an blank text file in that folder. To do this, we click on File and then on New Text File. But we don't really want a blank text file. Instead, we want a blank HTML file, so next we need to rename that file to index.html. And that is done by clicking on File and then on Save As... and then, we type index.html for the File Name in the dialog box that pops up, and then we will click the Save button. You should now have a blank index.html file. And you are ready to start typing code on line 1 of that file.
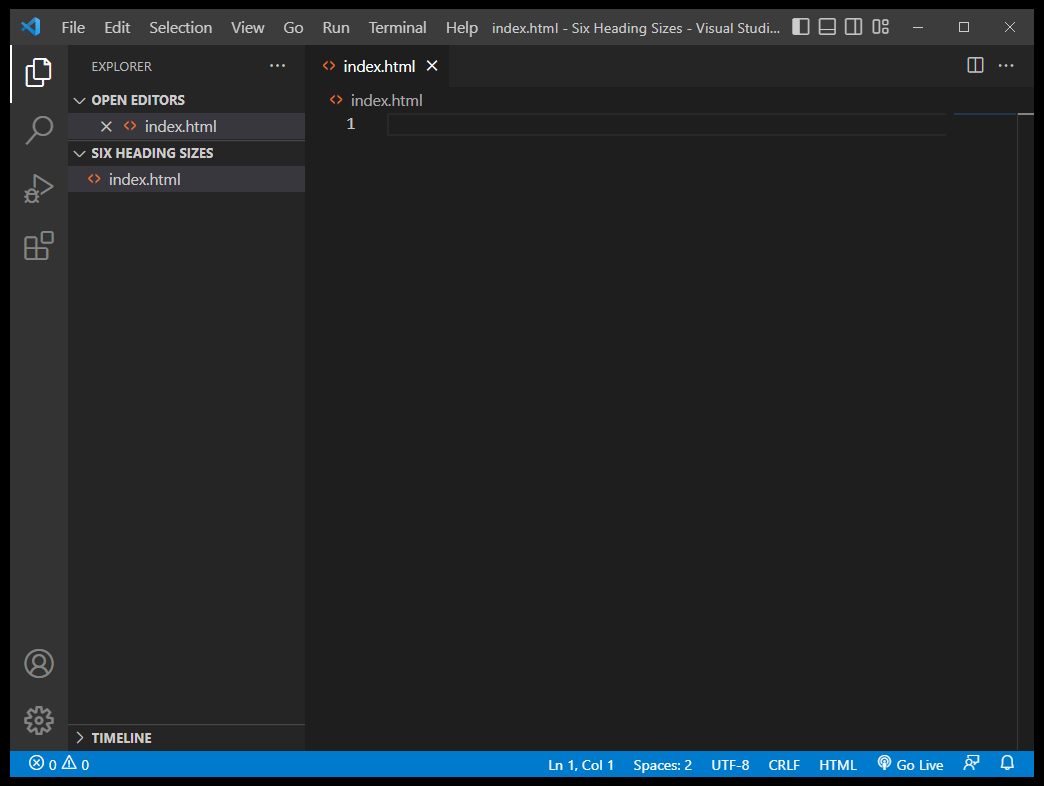
And here is the code that you will need to type.
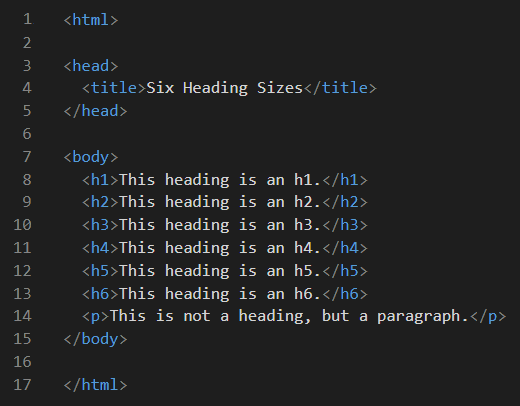
When all the code is correctly typed, it should look like the illustration below. Remember that your code is configured to save automatically, and that you can always use the Beautify extension to help format it automatically as well. Also, you can click on the image below to zoom in and get a better look at this VS Code screen.
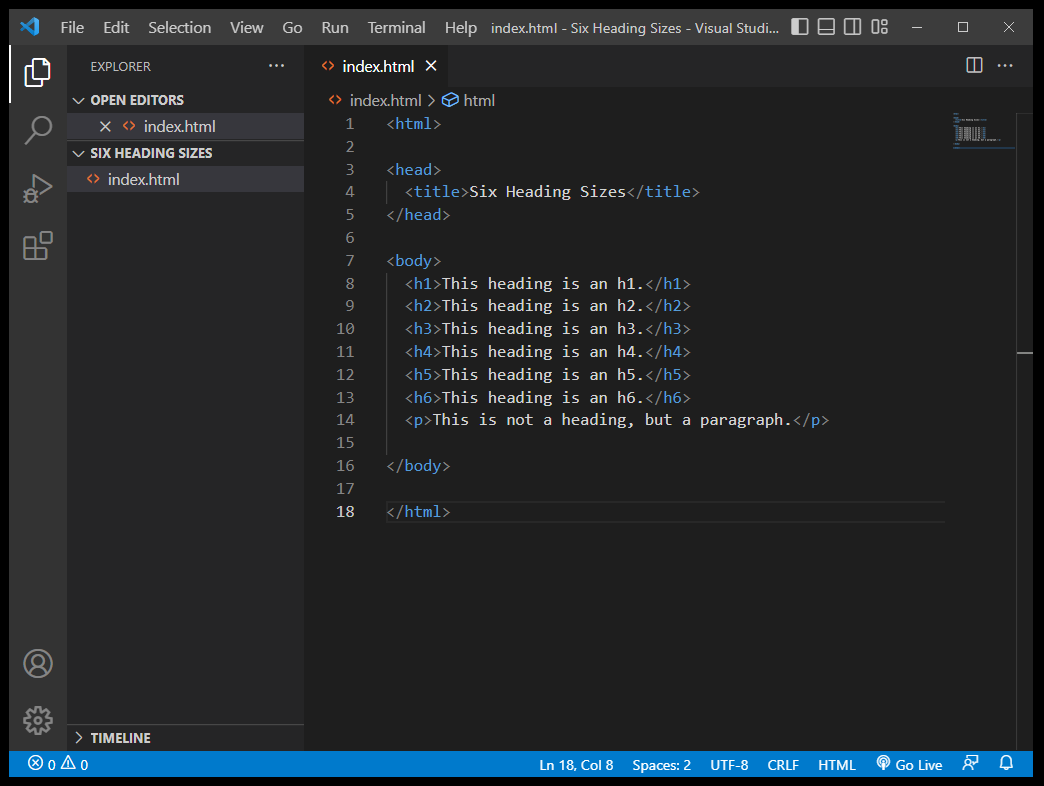
If the code looks good, then go ahead and click on Go Live at the bottom of the screen, and then this web page should open in your browser and look something like that image above this section on the right side. If it doesn't look like that image, then please reinspect your code for errors, and correct the errors until it does. Troubleshooting is just as important as coding. If it does look identical to that image above this section on the right side, then Congratulations are in order! Your code autosaves in VS Code, so just click on File and then on Close Folder and this project will be saved.
Kudos!
You completed both projects in this code-typing exercise, and hopefully you learned a lot. In the future, we will not be so redundantly detailed in our instructions. We will assume that you already know how to open folders and files and how to type and edit code using VS Code. So now, let's move on to the next lesson.